
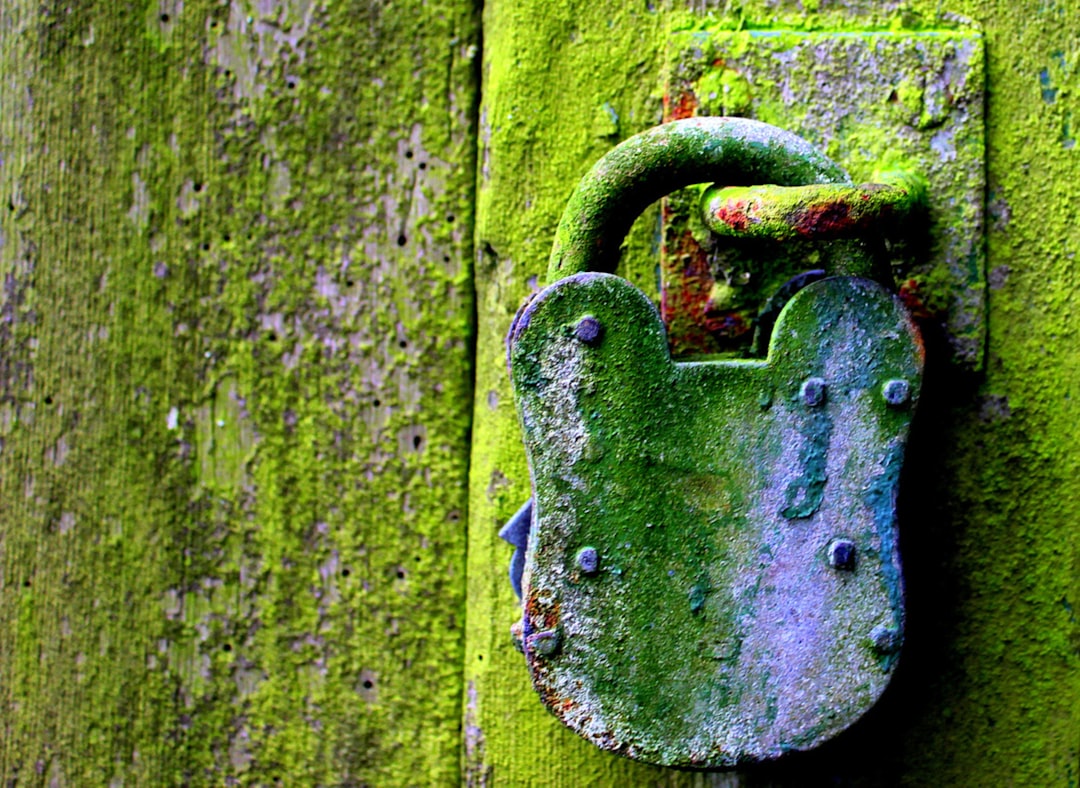
Your website finally has an SSL certificate. You’re excited. That little padlock should be showing up, right? But instead, your visitors are still being warned that your site is “Not Secure.” That’s frustrating. Don’t worry — you’re not alone. And the good news? It’s often a simple fix.
Let’s break down why this happens, in a way that’s easy to understand and even a little fun.
First, What Does SSL Actually Do?
SSL stands for Secure Sockets Layer. It encrypts the data going between your visitors and your website. It keeps things like passwords, credit card info, and messages away from hackers.
When your SSL is working correctly, your URL shows https:// and a padlock icon appears in the browser. That’s like the thumbs up from your browser saying, “Yep, this site’s secure!”
But sometimes, even after installing a valid SSL certificate, your site still gets labeled “Not Secure.” Bummer.
Why Does This Happen?
There are a few sneaky reasons why your site might still give off insecure vibes. Let’s dig into the most common ones.
1. Mixed Content – The #1 Culprit
This is the biggest reason sites with valid SSL still show as “Not Secure.”
Mixed content happens when your webpages load using https://, but some stuff on the page — like images, videos, scripts, or stylesheets — is still loaded over http://. That’s insecure.
Your browser doesn’t like mixing the two. It sees the insecure content as a risk and warns users. Even if your page starts as secure — boom, busted!

2. Redirect Confusion
Sometimes, your SSL works for https://yourdomain.com but your visitors land on http://yourdomain.com first. Without proper redirects, they stay on the insecure version.
You need something called a 301 redirect to automatically send traffic from http to https. This keeps things neat, tidy, and secure.
3. Your Certificate Is on the Wrong Version
Some SSL certificates are issued only for www.example.com but not for example.com — or vice versa. So visiting the non-matching version shows as insecure.
You’ll want to make sure your certificate covers both versions, or use redirects and DNS settings to fix it.
4. Expired or Misconfigured Certificate
Even a good SSL certificate can go bad. If it’s expired, browsers will toss the “Not Secure” warning at your visitors fast.
Also, the install could be misconfigured. It could be missing intermediate certificates or the server isn’t set up right.
Your SSL provider usually offers tools to help check these problems.
5. Using Resources from Insecure Domains
Let’s say your site uses fonts or widgets from somewhere else. If those outside resources come from http URLs, your secure bubble gets popped.
This is like locking your front door, but leaving the windows open. Not ideal.
Okay, So How Do You Fix This?
You’ve got this. Let’s go over how to fix the “Not Secure” message once and for all.
1. Scan for Mixed Content
Use tools like:
- Why No Padlock?
- Jitbit SSL Checker
- The Chrome DevTools “Console” tab (press F12)
These tools will show you what’s being loaded over http. Then, you just need to update those links in your code or CMS to use https.
If you’re using WordPress, consider plugins like:
- Really Simple SSL
- Better Search Replace (for fixing old http links in content)
2. Set Up a 301 Redirect
Add a redirect to your server so visitors trying to reach http:// get sent to https:// automatically.
If your site uses Apache, you can do this in your .htaccess file:
RewriteEngine On
RewriteCond %{HTTPS} off
RewriteRule ^(.*)$ https://%{HTTP_HOST}%{REQUEST_URI} [L,R=301]
On Nginx, you’ll edit the server block instead.
3. Get a Wildcard or SAN SSL Certificate
To avoid domain mismatch problems, make sure your SSL covers all versions of your site, including:
- www.yoursite.com
- yoursite.com
- sub.yoursite.com (if needed)
A wildcard or Subject Alternative Name (SAN) certificate is your best bet.
4. Renew That Certificate!
If your SSL expired, renew it ASAP. Most certificates last 90 days (Let’s Encrypt) or 1 year (purchased ones).
Set a calendar reminder or use an auto-renewal service so you don’t forget.
5. Update All External Resources
Any outside fonts, scripts, or icons? Make sure they’re linked using https://.
If that external site doesn’t support HTTPS? Replace that resource with a secure alternative or host it locally.
Bonus: Use HSTS to Add Extra Protection
HSTS (HTTP Strict Transport Security) tells browsers to always use HTTPS — even if someone tries to load an insecure page.
It’s like putting your website on a “secure-only” diet.
But careful — once you turn this on, you better make sure everything is really secure!
Still Seeing the Warning?
Clear your browser’s cache. Sometimes the “Not Secure” label gets stuck and doesn’t go away even after fixing the problem.
Try different browsers or devices to double check too.
Wrap-Up: You’re Just a Few Clicks from the Padlock
No one likes seeing “Not Secure” on a site. It scares visitors and kills trust.
But with the steps above, you can turn that frownie browser icon into a happy little padlock in no time.
Remember:
- Check for mixed content.
- Set up redirects.
- Use the right certificate.
- Keep everything updated.
Security doesn’t have to be scary. A little debugging and you’re back to looking professional and trustworthy online!
Got it all fixed? Celebrate with a cup of tea and check your site again — locked and loaded with that sweet, green padlock. 🔒
