Ever wondered how to make a video that loops perfectly? You press play, the video ends, and it starts again—smooth as silk. No glitch. No sudden jump. Just seamless, continuous playback. Sounds like magic, right? But it’s not. It’s actually pretty easy!
Whether you’re designing a background animation for your website, creating a TikTok loop, or building a calming screen for a meditation app, a smooth loop makes all the difference. Let’s walk through the simple steps to make that magic happen.
Step 1: Choose the Right Clip
All great loops start with the right footage. Not every video is meant to be a loop. So how do you pick the best one?
- Look for Repetition: Natural loops work best. Think of waves crashing, clock hands moving, or a spinning wheel.
- Use a Tripod: If you’re filming video, keep the camera still. Movement can ruin a clean loop.
- Keep It Short: Short loops are easier to manage and edit. Under 10 seconds is ideal.
Selecting the right starting point is already half the battle. You’ll be surprised how smooth it feels if the subject matter naturally blends into itself.
Step 2: Trim with Precision
Your next move? Cutting. Proper trimming is key to a good loop. You want the end to match the beginning. Sounds intimidating? Don’t worry—it’s easier than you think.
Here’s how:
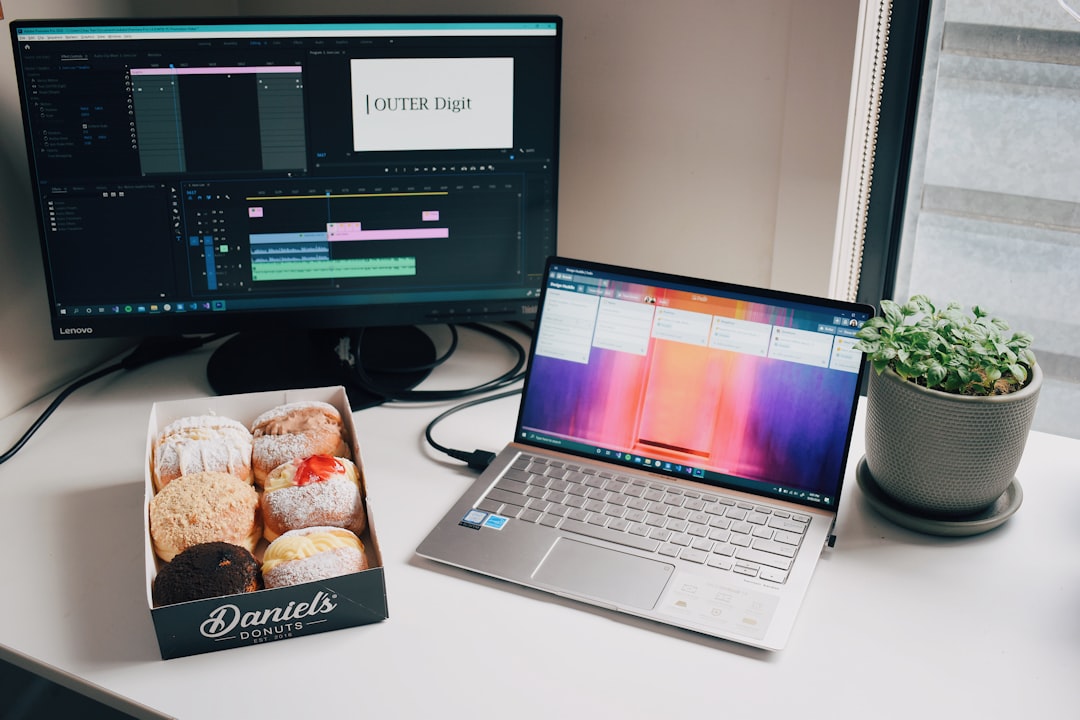
- Open your video in editing software (like Adobe Premiere, Final Cut Pro, or even free options like DaVinci Resolve or CapCut).
- Play the video and find a frame that looks like a good place to start. Mark it.
- Then watch to find the exact point where the subject returns to that same position. That becomes your end.
- Trim the clip to start and stop at those matching points.
Still confused? Imagine a man walking in a circle. Start your clip just as he’s passing a sign. End it the next time he passes the same sign, in the same way. Voila—loop.
Step 3: Crossfade or Morph if Needed
Sometimes, no matter how careful you are, the start and end frames don’t match perfectly. That’s okay! There are tricks for that.
- Crossfades: Blend the end and beginning using a soft fade. It works like a charm on water, clouds, or lights.
- Morph Transitions: If your editor offers morphing tools, use them! They shape-shift the frames to match smoothly.
These tools hide tiny differences so the viewer never notices the stitch.

Step 4: Preview Over and Over
Now, go crazy with the repeat button. Play the video on a loop and really pay attention.
- Does it feel natural?
- Any jump or flicker?
- Does the sound cut or spike?
If anything feels “off”—go back, trim again, or tweak the transitions. This is your polish phase.
Tip: Try watching on different screens. A loop might look fine on your laptop, but weird on a phone. Check both!
Step 5: Export with Loop in Mind
Done editing? Time to export your loop. Make sure your export settings support looping playback.
Here’s what to consider:
- Export Format: Use a format that supports seamless playback, like MP4 or MOV.
- Loop-Friendly Codec: H.264 is a good option for compatibility and smooth loops.
- Bitrate: Keep a steady bitrate. Avoid big spikes—they can cause playback hiccups.
If you’re uploading a loop to a website, make sure the HTML or JS settings allow for endless looping. Same if you’re uploading to a social media platform like Instagram or TikTok.
Step 6: Add Looping Audio (Optional)
Music can make your loop magical—or ruin it with a sudden stop. If you want audio, it has to loop too!
- Use Ambient Sounds: Rain, waves, birds—these loop naturally.
- Trim Your Track: Just like the video, fade in and out points where the sound blends in smoothly.
- Layer Wisely: You can layer sound effects to distract from any transition lines.
Most loops don’t need music. But if you use it, make it count. Sound can draw attention to a bad loop—or make a good one unforgettable.

Step 7: Test It in Context
The true test of a seamless video loop? Watch it where it’ll actually live.
- If it’s going on a website, embed and preview it there
- If it’s for an app, view it on a phone and tablet
- If it’s for a looping art display, test it on the screen that will play it
Sometimes a loop behaves differently on a platform. Things like buffering, compression, or autoplay settings can all change the flow. So give it a go in real-life conditions.
Pro Tips for Loop Mastery
- Boil It Down: Simpler footage often loops better than complex scenes.
- Use Boomerang-style Tools: Play forward then backward for an easy built-in loop. Instagram and TikTok love this!
- Speed It Up (or Down): Tweaking speed can help match start and end points for better flow.
- Reverse and Combine: Try reversing parts of the video and blending them together for cool effects.
With a bit of creativity, you can loop just about anything. From leaves blowing to a jogger’s stride, the only limit is your imagination.
Great Software to Try
Don’t know what editing tools to use? Here’s a shortlist:
- CapCut: Very beginner-friendly and surprisingly powerful.
- DaVinci Resolve: Free and feature-packed. Good for intermediate users.
- Adobe Premiere Pro: Industry standard. Powerful, but has a learning curve.
- Final Cut Pro: Great for Mac users and fluid editing.

Why Loops Matter
In today’s fast-scroll world, loops capture attention with hypnotic power. They make people pause. Watch again. And again.
Whether it’s a background video on a website or an Instagram Reel that mesmerizes, loops do the job silently but effectively.
Plus, they save on file size and make your content feel extra polished. Perfect for creators, brands, or just someone who likes playing with visuals.
Wrap-Up
So there you have it. Making a seamless video loop isn’t rocket science—it’s all about paying attention to the small details.
To recap:
- Pick the right clip
- Trim with precision
- Add transitions if needed
- Preview obsessively
- Export wisely
- Add audio with care
- Test in real settings
Now go create something smooth. Something satisfying. Something that never ends.
Happy looping!


