Running a web hosting business? Then you’ve definitely heard of WHMCS. It’s like your magical command center for managing clients, invoices, support tickets, and hosting stuff. Everything in one place. But before all that magic happens, you’ve got to log into the WHMCS admin dashboard.
If this sounds scary, don’t worry — we’re making it fun and incredibly simple. Let’s get you to that dashboard in record time!
What is the WHMCS Admin Dashboard?
Alright! First things first. What is this dashboard anyway?
The WHMCS Admin Dashboard is the control panel where you, the admin (aka the boss!), manage everything. It’s not the client area; it’s your own special control room.
From here, you can:
- Create and manage client accounts
- Send invoices and handle payments
- Help customers via support tickets
- Manage hosting services and domains
Think of it as your superpower cockpit. Now let’s show you how to enter it.
Step 1: Know Your WHMCS Admin URL
This is the doorway to your kingdom. By default, the admin login URL looks like this:
https://yourdomain.com/whmcs/admin
Of course, your URL might be a little different, depending on where WHMCS is installed. If your WHMCS is in a special folder called billing, for example, it might look like:
https://yourdomain.com/billing/admin
Not sure? You can always ask your developer or check your hosting control panel.

Step 2: Enter Your Login Info
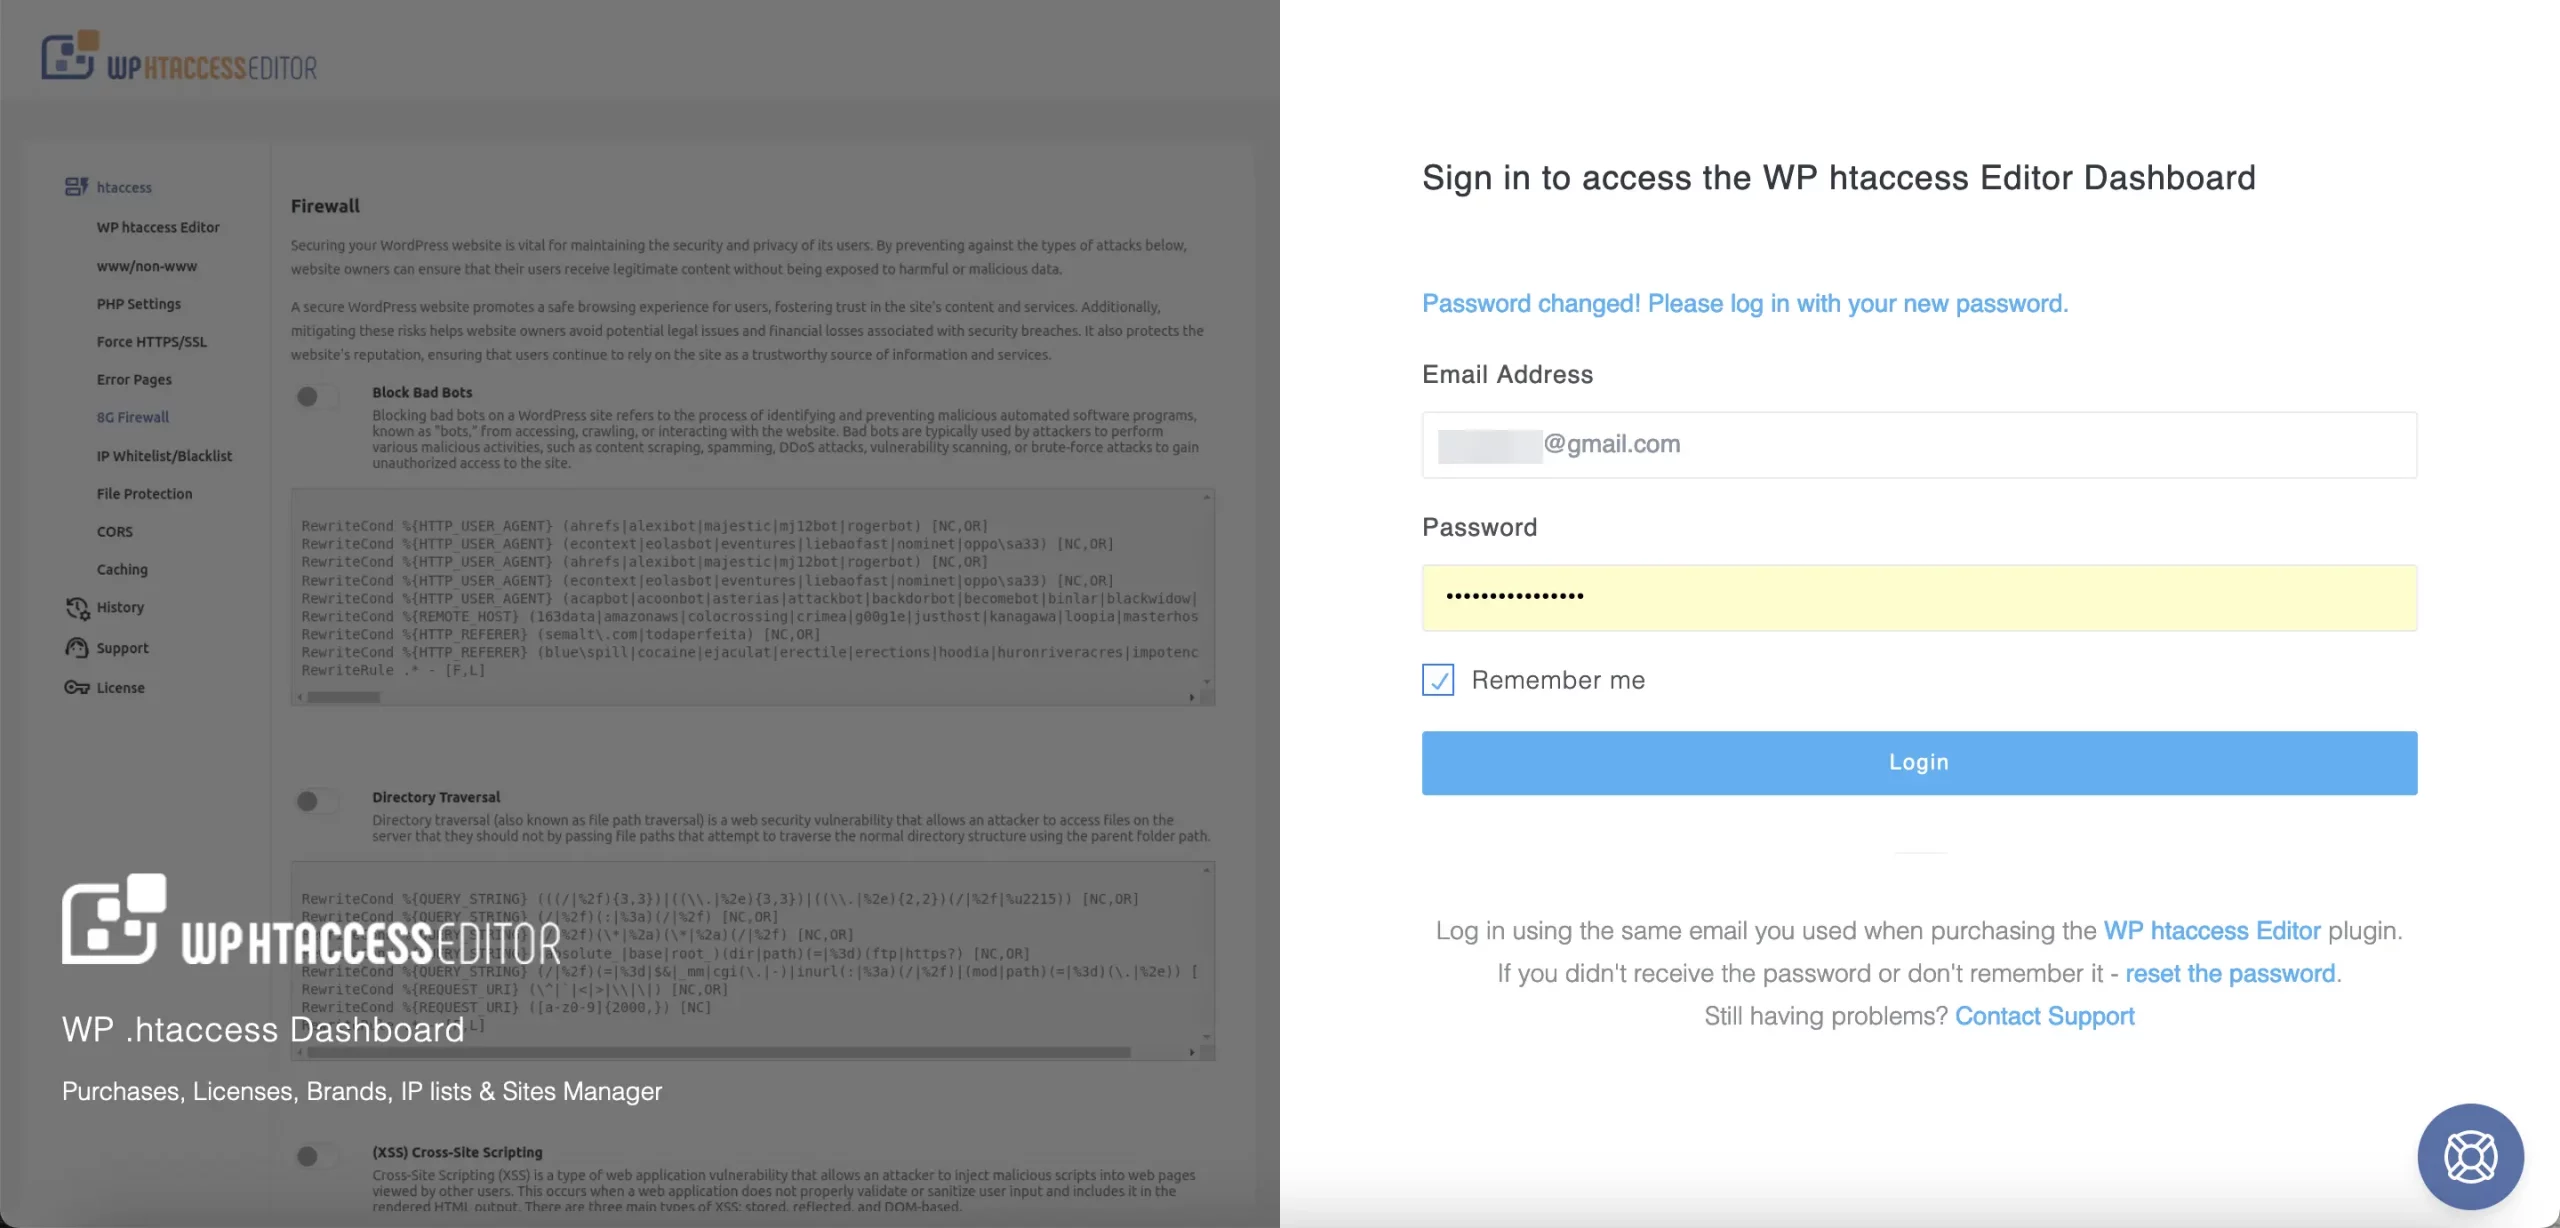
You should see a login page that’s asking for:
- Username
- Password
Now, just type those in!
Don’t remember your password? No sweat — just click on the “Forgot Password?” link and follow the instructions. You’ll need the admin email you signed up with.
Also, pro tip: Keep your passwords strong. Mix up letters, numbers, and symbols. It helps keep the hackers at bay!
Step 3: Two-Factor Authentication (If Enabled)
Extra security never hurts, right? If you’ve enabled two-factor authentication (2FA), you’ll need more than just your password.
When 2FA is on, after you enter your login info, you’ll get a prompt to enter a code. This is usually sent to your mobile phone via an app like Google Authenticator or Duo.
Open the app ➜ Get the code ➜ Enter it ➜ Boom, you’re in!
Step 4: Welcome to the Admin Area!
Once you’re in, you’ll see a beautiful dashboard filled with useful info:
- Recent orders
- Support ticket alerts
- New clients
- System notifications

Take a stroll around. Click on the different menus. Don’t worry — you won’t break anything by just looking around. It’s how we learn!
Tips to Make Logging In Smoother
To make your life easier, here are a few friendly tips.
- Bookmark the login URL – You’re going to use it a lot!
- Use a password manager – Tools like LastPass or 1Password can remember your login info.
- Enable 2FA – It may take a few extra seconds, but it’s worth the security.
- Update your WHMCS regularly – Updates keep bugs and hacker-villains away.
Common Login Problems and Fixes
It happens. Sometimes the login process doesn’t go smoothly. Here’s how to fix the most common issues.
“Invalid Login Details”
Double-check your username and password. Typing mistakes happen more often than you think.
“2FA Code Not Working”
Make sure your phone time is synced. If your mobile clock is off, the 2FA code might not work.
“Login Page Not Found”
Your admin folder might have been renamed for security. Try looking in your WHMCS configuration files or ask your host.
Locked Out?
Admins can get locked out due to too many failed attempts. In that case, you might need to reset your login via the database. Reach out to your hosting provider. They can help!
If You’re Installing WHMCS for the First Time
Just starting out? During the installation process, you’ll:
- Create your first admin account
- Choose your admin username
- Set up your secure password
Use a strong password from the beginning. And don’t forget to write it down somewhere safe.

Pro Security Tips for Your Admin Login
The WHMCS admin dashboard is powerful — and needs to be protected. Here are some ninja-level security tips to help:
- Rename your admin folder – Instead of “/admin”, use something like “/superportal” for extra security.
- Use HTTPS – Always make sure your WHMCS URL starts with https://
- Set admin IP restrictions – Limit login access to specific IP addresses.
- Use a secure hosting provider – Make sure your server is locked down tight.
Getting Locked Out? Here’s the Emergency Plan
If you’re locked out or forgot your credentials and can’t reset them the usual way, don’t panic.
You can reset your admin password directly through the database.
- Log into phpMyAdmin in your hosting control panel
- Find your WHMCS database
- Go to the tbladmins table
- Edit your admin user
- Change the password field with a new password using MD5 encryption
Important: This is technical. If you’re unsure, get your developer or hosting support to help!
Now You’re a Login Master
See? Logging into the WHMCS Admin Dashboard is easy when you know how. It’s just four simple steps:
- Find your login URL
- Enter your credentials
- Complete two-factor authentication (if needed)
- Enjoy the dashboard!
Now that you’re in, go ahead — rule your world. Manage clients, send invoices, and grow your hosting empire.
High-five! 🎉 You’ve got this.


