

Securing every device in your home can feel overwhelming. Between laptops, smartphones, smart TVs, gaming consoles, and dozens of connected IoT devices, protecting your digital life one device at a time is inefficient and easy to mismanage. Configuring a VPN directly on your home router provides comprehensive, always‑on protection for your entire network—without the need to install separate apps on each device. When properly set up, a router-level VPN offers consistent encryption, better privacy, and simplified management for your household.
TLDR: Configuring a VPN on your router protects every device connected to your home network automatically. You’ll need a compatible router, a reliable VPN provider that supports router connections, and access to your router’s admin panel. The setup involves entering your VPN provider’s configuration details into your router’s firmware. Once activated, all traffic passing through your home network will be encrypted and routed securely through your VPN server.
Why Configure a VPN on Your Router?
Most VPN users install applications directly on individual devices. While this works, it has limitations: device caps, manual activation, and inconsistent coverage. A router-based VPN eliminates these issues by encrypting all internet traffic at the source—your home gateway.
Key advantages include:
- Whole‑house protection: Every device connected to Wi‑Fi or Ethernet is automatically covered.
- Bypass device limits: Many VPN providers limit simultaneous connections. A router connection counts as only one.
- Always‑on security: No need to remember to launch a VPN app.
- Protection for unsupported devices: Smart TVs, game consoles, and IoT devices that don’t support VPN apps stay protected.
However, router VPN configuration does require careful setup and compatible hardware. Understanding the requirements before beginning is essential for a smooth deployment.
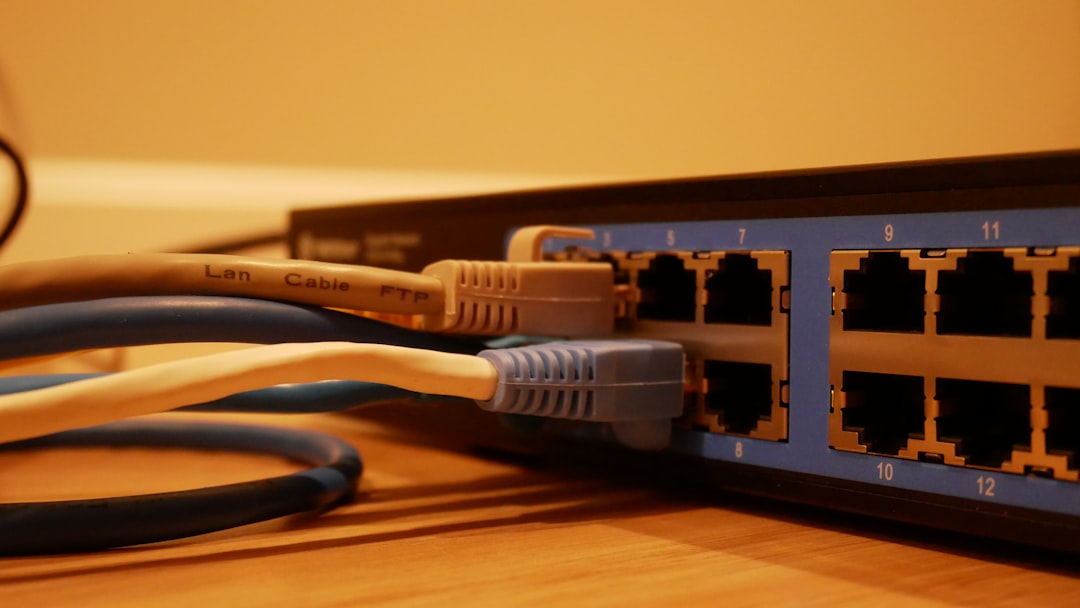
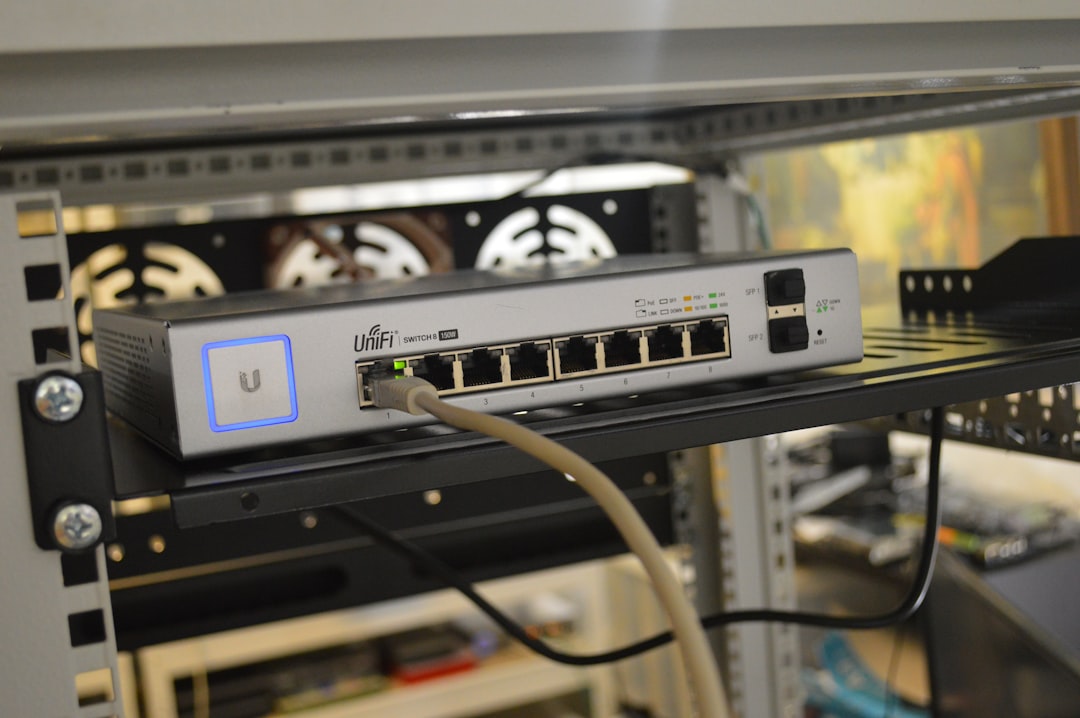
Step 1: Verify Router Compatibility
Not all routers support VPN client functionality. Entry-level ISP-provided routers typically lack advanced VPN configuration options. To use a VPN on your router, you generally need one of the following:
- A router with built-in VPN client support (OpenVPN or WireGuard).
- A router that supports custom firmware such as DD-WRT, OpenWRT, or Tomato.
- A pre-configured router purchased directly from a VPN provider.
Log in to your router’s admin panel (typically accessed by entering 192.168.1.1 or 192.168.0.1 into your browser) and check the advanced settings section for VPN options.
If your router lacks VPN client features, you may:
- Upgrade to a compatible router.
- Flash your router with compatible third-party firmware (advanced users only).
- Install a secondary VPN router behind your existing ISP router.
Step 2: Choose a Reputable VPN Provider
Not all VPN services support router installations. You’ll need a provider that offers:
- OpenVPN or WireGuard configuration files
- Manual router setup guides
- Strong encryption standards (AES‑256 or ChaCha20)
- A strict no‑logs policy
- Reliable customer support
It is critical to select a trustworthy provider with transparent privacy practices. Investigate whether the VPN company has undergone independent audits and evaluates its server infrastructure regularly.
Once subscribed, download the necessary configuration files from your VPN provider’s website. These may include:
- .ovpn configuration files
- Server IP addresses
- Encryption certificates
- Login credentials
Step 3: Access Your Router’s Admin Panel
Open a web browser on a device connected to your network and enter your router’s IP address into the address bar. Log in using your administrator credentials.
For security reasons, if you are still using default admin credentials, change them immediately before proceeding.
Within the router interface:
- Locate the VPN or Advanced Settings section.
- Select Add VPN Client or similar option.
- Choose the VPN protocol (OpenVPN is most common).
If using DD-WRT or OpenWRT firmware, navigate to the Services tab and locate the OpenVPN client configuration area.
Step 4: Enter VPN Configuration Details
This is the most technical part of the process. Carefully copy your VPN provider’s configuration details into the appropriate fields.
Common fields include:
- Server address or hostname
- Port number
- Tunnel protocol (UDP or TCP)
- Encryption cipher
- Username and password
- CA certificate
Many routers allow you to upload the .ovpn configuration file directly, which simplifies the setup.
After entering the details:
- Save settings.
- Enable the VPN client.
- Apply changes and reboot the router if prompted.
Step 5: Verify the VPN Connection
After the router restarts, confirm that the VPN is active.
You can verify this by:
- Checking the router’s VPN status page for “Connected” status.
- Visiting an IP address checking website to confirm your public IP has changed.
- Running a DNS leak test to ensure requests are routed securely.
If the displayed IP address matches your VPN server’s location rather than your physical location, the setup is successful.
Performance Considerations
Encrypting all traffic at the router level requires processing power. Some lower-end routers may experience reduced speeds when handling VPN encryption.
Performance depends on:
- Your router’s CPU strength
- The encryption protocol used
- Server distance
- Your base internet speed
If you notice significant slowdowns:
- Switch to a closer VPN server.
- Try WireGuard if supported (generally faster than OpenVPN).
- Upgrade to a higher-performance router.
Optional: Split Tunneling at the Router Level
Some advanced firmware allows policy-based routing, often called split tunneling. This feature enables you to route specific devices through the VPN while allowing others to connect directly to your ISP.
This can be useful if:
- You want streaming devices to use a specific country server.
- You need high-speed direct access for gaming consoles.
- Certain banking websites block VPN traffic.
Split tunneling adds flexibility but also increases configuration complexity. Implement carefully and document your IP assignments.
Security Best Practices
To ensure maximum protection, follow these professional-grade guidelines:
- Change default router credentials.
- Disable WPS to reduce attack surfaces.
- Enable firewall protections within router settings.
- Keep firmware updated regularly.
- Disable remote management unless absolutely necessary.
Additionally, consider enabling a kill switch feature if your router firmware supports it. This prevents traffic from leaking outside the VPN tunnel if the connection drops.
Troubleshooting Common Issues
VPN Not Connecting:
- Double-check server address and login credentials.
- Verify certificates are properly copied.
- Restart modem and router.
Slow Internet Speeds:
- Switch to UDP instead of TCP if appropriate.
- Choose a nearby VPN server.
- Confirm router CPU utilization.
Streaming Services Not Working:
- Change VPN servers.
- Use split tunneling if firmware allows.
Is a Router VPN Right for You?
A router-based VPN is ideal for households with numerous connected devices and users who prioritize long-term, consistent protection. It centralizes cybersecurity management and ensures that every new device joining your network inherits encryption automatically.
However, it may not be suitable if:
- You frequently switch VPN server locations.
- You need per-device granular control.
- Your router hardware is underpowered.
In many cases, combining router-level protection with device-level VPN apps provides the most comprehensive coverage.
Final Thoughts
Configuring a VPN on your home router is a powerful step toward strengthening your household’s digital privacy. While the process requires careful preparation and technical attention, the long-term benefits are substantial: seamless protection, centralized management, and consistent encryption across every connected device.
By selecting trusted hardware, partnering with a reputable VPN provider, and following structured configuration steps, you can create a secure perimeter around your home network. In an age where cyber threats and data tracking are increasingly sophisticated, taking control of your network at the router level is both prudent and forward-thinking.
Whole-house protection starts at the gateway. Configure it correctly once, and every device behind it benefits.
