
You do not need a fancy studio to make a sharp, friendly, professional headshot. You need a camera, good light, a clean background, and a little patience. That is it. Your living room can become a mini photo studio in less than an hour.
TLDR: A great DIY headshot is all about simple choices. Use a phone or camera, face soft natural light, and stand in front of a clean background. Take many photos, pick the best one, and edit gently. Keep it bright, neat, and true to you.
Why a Good Headshot Matters
Your headshot is often your first hello. It may appear on LinkedIn, a website, a resume, a portfolio, or a speaker bio. People see it before they meet you. So it should feel clear, warm, and confident.
A professional headshot does not mean stiff. It does not mean boring. It means you look like the best version of yourself on a normal, well slept day. Think friendly CEO energy, not passport photo panic.
The best part? You can do it yourself. No awkward studio posing. No paying for a full session. No wondering what to do with your hands. Well, maybe a little. Hands are weird.
Step 1: Pick Your Camera
You do not need the newest camera in the world. A modern smartphone can do a great job. Many phones have strong portrait modes. They also handle color and sharpness well.
If you have a DSLR or mirrorless camera, great. Use it. If not, do not worry. The camera matters less than the light, pose, and background.
Good camera options:
- Smartphone: Easy, fast, and surprisingly powerful.
- DSLR camera: Great detail and lens control.
- Mirrorless camera: Light, sharp, and excellent for portraits.
- Webcam: Only use it if you have no other option.
If you use a phone, clean the lens first. Seriously. Do it. A tiny fingerprint can make your photo look foggy. Use a soft cloth. Your future profile picture will thank you.
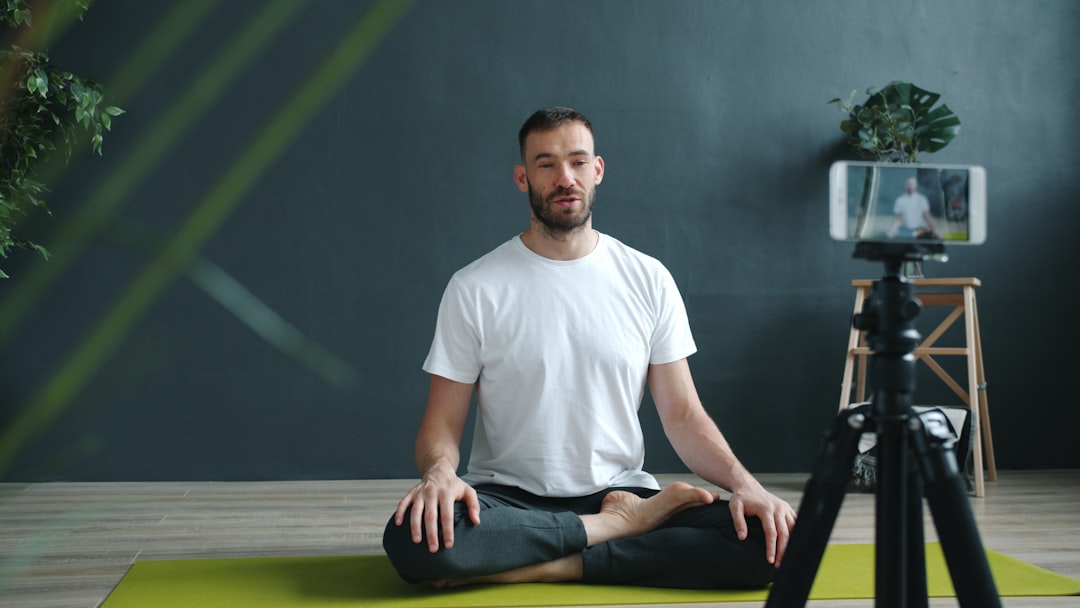
Step 2: Use a Tripod or Stable Setup
Do not hold the camera with your arm. That creates selfie angles. Selfie angles are not headshot angles. They can stretch your face and make the photo feel casual.
Use a tripod if you have one. If not, stack books on a table. Add a box. Add one more book. Build a little tower of photo glory.
Place the camera at eye level. This is important. If the camera is too low, it can look unflattering. If it is too high, it may look like a social media selfie. Eye level feels natural and professional.
Use a timer or remote shutter. Most phones have a 3 second or 10 second timer. Some smart watches can also trigger the camera. This gives you time to relax before each photo.

Step 3: Find the Best Light
Lighting is the magic sauce. Good lighting makes skin look smooth. It makes eyes sparkle. It makes everything feel cleaner.
The easiest option is a window. Stand near a large window during the day. Face the window. Do not stand with the window behind you. That can turn you into a mysterious shadow person.
Try this simple window setup:
- Stand about three to six feet from the window.
- Face the light, or turn slightly to one side.
- Turn off strong overhead lights.
- Avoid direct sunlight on your face.
- Use a white wall or poster board to bounce light if needed.
Soft light is your friend. Direct sunlight can create harsh shadows. It can also make you squint. Squinting is not a power pose. It is a sun survival face.
If the light is too strong, use a thin white curtain. This spreads the light. It makes it softer. It is like putting a giant beauty filter on the window.
Step 4: Try Simple Artificial Lighting
If you do not have good window light, use a lamp or ring light. Keep it simple. You do not need a spaceship of lighting gear.
A ring light can work well. Place it just above eye level. Keep it in front of you. Do not crank it up too bright. If your face looks flat or shiny, lower the power.
A softbox is even better if you have one. It gives wider, softer light. Put it at a slight angle from your face. This creates gentle shape and depth.
Easy lighting rule: If the shadows are too dark, move the light closer or make it larger. If your face looks shiny, lower the brightness or move the light to the side.
Also, watch your glasses. Glasses can reflect lights. To reduce glare, raise the light a little higher. Tilt your chin down slightly. Move the light to one side. Take test shots.
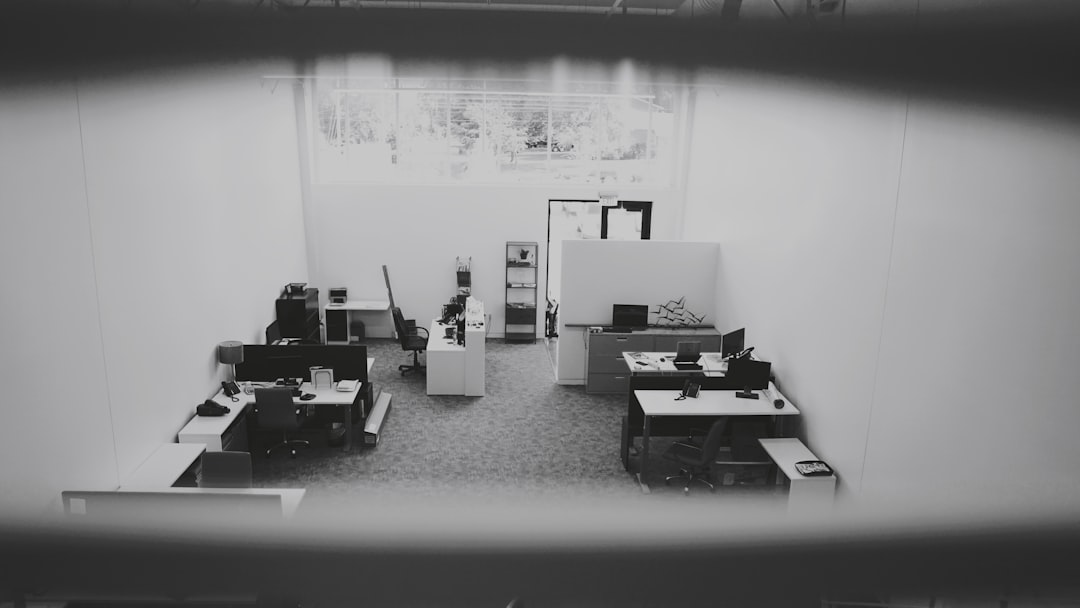
Step 5: Choose a Clean Background
Your background should not steal the show. You are the star. Not the laundry basket. Not the kitchen magnets. Not the half-dead plant named Steve.
Use a plain wall if possible. White, gray, beige, and soft colors work well. A tidy office can also look good. A bookshelf is fine if it is neat. Keep it calm.
Stand a few feet away from the background. This helps create separation. It can also blur the background a little, especially in portrait mode.
Good background ideas:
- A plain wall.
- A tidy home office.
- A simple bookshelf.
- A clean outdoor wall in shade.
- A soft curtain or fabric backdrop.
Avoid busy patterns. Avoid bright clutter. Avoid anything embarrassing in the frame. Zoom in before you post. The internet notices everything.
Step 6: Dress for the Job You Want
Your outfit should match your field. A lawyer may choose a blazer. A designer may choose something creative. A coach may choose a warm, approachable look.
Solid colors usually work best. They keep attention on your face. Navy, gray, black, white, green, and burgundy are all strong choices. Avoid tiny stripes. Cameras do not always like them.
Make sure your clothes are clean and wrinkle free. Use a lint roller. Check collars. Check buttons. Check that one rebellious hair on your shoulder.
Quick outfit tips:
- Wear something that fits well.
- Choose colors that suit your skin tone.
- Avoid loud logos.
- Keep jewelry simple.
- Steam or iron your top.
If you are unsure, take test shots in two or three outfits. The camera will tell you the truth. Sometimes the shirt that looks “fine” in real life looks amazing on camera. Sometimes it does not. Be brave.
Step 7: Pose Without Feeling Like a Statue
Good posing is about small changes. You do not need dramatic moves. You are not shooting a movie poster. Unless you are. In that case, add wind.
Start by standing or sitting tall. Relax your shoulders. Push your forehead very slightly toward the camera. This can define the jawline. It feels strange. It looks good.
Turn your body a little to one side. Then turn your face back toward the camera. This is more flattering than facing straight forward.
Try these pose tips:
- Keep your chin level or slightly down.
- Relax your jaw.
- Smile with your eyes.
- Take a breath before each shot.
- Think of someone you like.
For a natural smile, do not say “cheese.” Say something silly. Try “tiny tacos” or “business penguin.” It sounds ridiculous. That is the point. Real smiles happen when your brain gets surprised.
Step 8: Take Lots of Photos
Do not take three photos and quit. Take many. Professionals do this too. A great headshot is often hiding among 60 normal ones and 12 weird blinking ones.
Change one thing at a time. Move closer to the window. Turn your shoulders. Adjust your smile. Try sitting. Try standing. Change your angle.
Review your photos in batches. Do not judge each one too harshly. Look for the photo where your face feels relaxed, sharp, and clear.
Your goal: find the photo that looks like you on a very good day. Not a fake version. Not a plastic version. You, but polished.
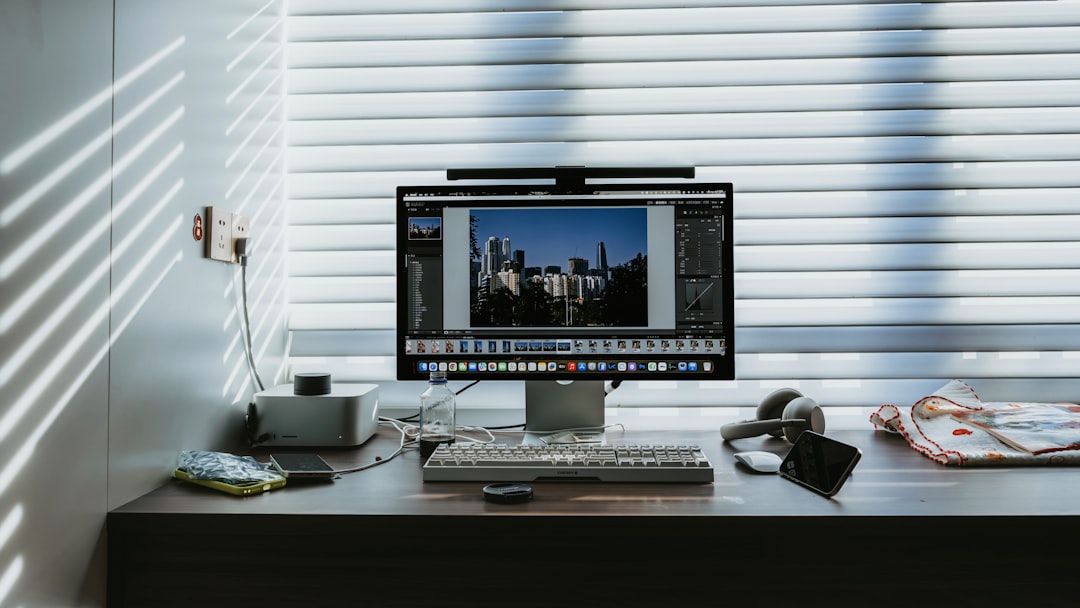
Step 9: Edit Lightly
Editing can make your headshot shine. It can also make it look fake if you go too far. The best editing is subtle. People should notice you, not the editing.
Use any simple photo editing app. Most phones have built-in tools. You can adjust brightness, contrast, crop, shadows, highlights, and color.
Basic editing checklist:
- Crop: Keep your head and shoulders in frame.
- Brightness: Make the face clear and lively.
- Contrast: Add a little depth.
- White balance: Fix yellow or blue color casts.
- Sharpness: Add a tiny amount if needed.
- Retouching: Keep it natural.
Do not smooth your skin too much. Skin has texture. That is normal. Remove temporary things if you want, like a small blemish or lint. Do not change your face shape. Do not erase every line. Real looks trustworthy.
Step 10: Crop for Different Platforms
Different platforms show photos in different shapes. Some use circles. Some use squares. Some use wide layouts. Save more than one version.
For LinkedIn, a square crop often works well. Keep your face centered. Leave a little space around your head. Make sure nothing important gets cut off when the image becomes a circle.
For a website bio, you may want a wider crop. For a resume, you may want a simple vertical version. Save your best edited photo, then create copies for each use.
Useful versions to save:
- Square crop for profiles.
- Vertical crop for resumes or bios.
- Horizontal crop for websites.
- High resolution version for future use.
Common DIY Headshot Mistakes
Small mistakes can make a headshot look less polished. Luckily, they are easy to fix.
- Bad lighting: Face a window or use soft artificial light.
- Messy background: Clean the frame before shooting.
- Camera too low: Raise it to eye level.
- Too much editing: Keep your face natural.
- Blurry photo: Use a tripod and tap to focus.
- Forced smile: Relax and take more shots.
Also, avoid using an old cropped party photo. You may love that photo. But if someone can see half of your friend’s ear beside you, it is not a professional headshot.
A Simple DIY Headshot Setup
Here is a fast setup you can copy today.
- Choose a clean wall near a window.
- Set your phone on a tripod at eye level.
- Face the window at a slight angle.
- Turn off overhead lights.
- Wear a clean, simple top.
- Use portrait mode if it looks natural.
- Set a timer.
- Take at least 50 photos.
- Pick the best three.
- Edit the winner lightly.
That is the whole recipe. No drama. No giant studio. No emotional breakdown over cheekbones.
Final Tips for a Headshot You Love
Give yourself time. Do not shoot your headshot five minutes before you need it. That is how panic hair happens.
Try your session in the morning or late afternoon. Light is often softer then. Drink water. Check your face, hair, and clothes before shooting. Play music if it helps you loosen up.
Ask a friend to help if possible. They can press the shutter, fix your collar, and tell you when your smile looks real. A second pair of eyes is useful.
Most of all, keep it simple. A professional headshot does not need to be perfect. It needs to be clear, current, and confident. When in doubt, choose the photo where you look approachable. People like working with humans. Be one.
Your DIY headshot can look polished without feeling fake. Use soft light. Keep the background clean. Dress with purpose. Edit with care. Then upload that photo with pride. Congratulations. Your living room is now a studio, and you are the star.
