
The SteelSeries Alias microphone is designed for streamers, podcasters, and content creators who want studio-level clarity without complex audio engineering. However, even a high-quality USB microphone like the Alias will not automatically sound perfect straight out of the box. Room acoustics, positioning, gain staging, and software settings all play a critical role in shaping your final sound. With the right setup and tuning, the Alias can deliver professional, broadcast-quality results that rival far more expensive XLR setups.
TLDR: To make your SteelSeries Alias mic sound good, focus on proper placement, controlled gain levels, and room treatment first. Then fine-tune your audio using EQ, compression, and noise suppression in software such as Sonar or OBS. Keep the microphone close, reduce background noise, and apply subtle processing rather than heavy effects. A clean source signal is always more important than aggressive post-processing.
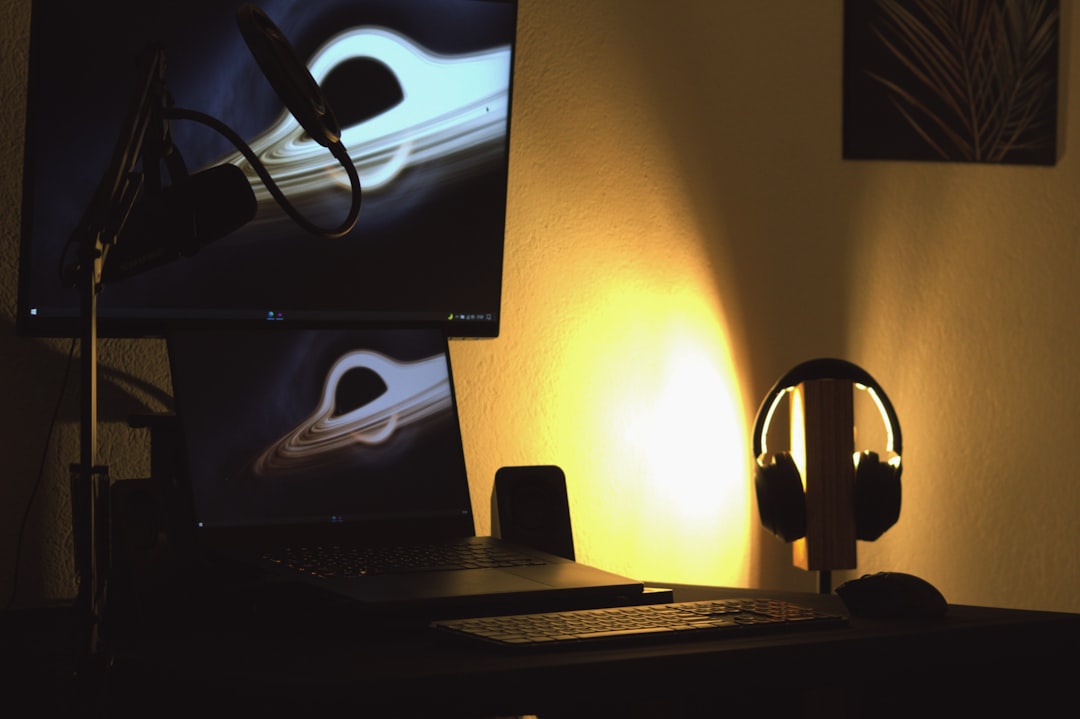
1. Start with Proper Microphone Placement
No software setting can compensate for poor microphone positioning. The SteelSeries Alias uses a large capsule designed to prioritize your voice while minimizing background noise, but it still requires correct placement.
- Distance: Position the mic 6–8 inches from your mouth.
- Angle: Speak slightly off-axis (about 20 degrees) to reduce plosives.
- Height: Keep it level with your mouth, not below your chin.
- Orientation: Make sure you are speaking into the front-address side.
If the microphone is too far away, your voice will sound thin and echoey. Too close, and you risk distortion and excessive bass buildup (the proximity effect).

2. Control Your Recording Environment
Even the best microphone cannot overcome a poor room. Echo, reverb, and background noise can significantly degrade clarity.
Key improvements you can make immediately:
- Add soft materials like rugs, curtains, and upholstered furniture.
- Avoid recording in empty rooms with hard surfaces.
- Position your setup away from reflective walls and windows.
- Turn off fans, AC units, and other mechanical noise sources.
If your voice sounds “roomy” or distant, the issue is usually acoustics, not the microphone.
3. Set Proper Gain Levels
One of the most common mistakes is setting the gain too high. The SteelSeries Alias has strong sensitivity, meaning it does not require excessive input gain to capture detail.
Follow this process:
- Speak at your normal loudest volume.
- Adjust gain so peaks reach around -10 dB to -6 dB.
- Avoid peaking into the red zone.
If your audio clips (distorts), it cannot be repaired later. On the other hand, recording too quietly increases background noise when you boost the level afterward.
4. Use SteelSeries Sonar for Fine-Tuning
SteelSeries Sonar software provides built-in EQ, compression, and noise reduction tools tailored to the Alias mic. Used correctly, these tools can significantly enhance clarity and consistency.
Recommended EQ Starting Point
- Low cut (High-pass filter): 80–100 Hz to remove rumble.
- Low-mid reduction: Slight cut around 200–400 Hz if voice sounds muddy.
- Presence boost: Small lift at 3–5 kHz for intelligibility.
- Air boost: Gentle lift at 8–10 kHz for brightness (optional).
Keep EQ adjustments subtle. Large boosts often introduce harshness.

Compression Settings for Consistent Volume
Compression helps even out volume changes when you speak louder or softer.
- Ratio: 3:1 or 4:1
- Threshold: Set so compression activates during louder speech
- Attack: 5–15 ms
- Release: 50–120 ms
Too much compression will make your voice sound unnatural and “squashed.” Aim for 3–6 dB of gain reduction during louder moments.
5. Apply Noise Suppression Carefully
The Alias capsule does a solid job rejecting background noise, but software suppression can help remove keyboard clicks or ambient hum.
Important: Overuse of noise suppression causes robotic artifacts.
Only apply as much as needed to control constant background noise. If your environment is well-treated, minimal suppression is required.
6. Optimize Pop Control and Plosive Management
If you hear harsh “P” and “B” sounds, plosives are the issue.
Solutions include:
- Using a pop filter or foam windscreen.
- Slight off-axis positioning.
- Maintaining consistent distance.

These mechanical fixes are more effective than trying to repair plosives in software later.
7. Comparing Software Options for Processing
While SteelSeries Sonar is convenient, some users prefer routing the Alias through third-party software for advanced control. Below is a simplified comparison of common processing tools.
| Software | Ease of Use | Best For | Cost |
|---|---|---|---|
| SteelSeries Sonar | Very Easy | Streamers wanting quick optimization | Free |
| OBS Filters | Moderate | Live streaming with custom control | Free |
| Voicemeeter | Advanced | Audio routing and mixing | Free / Donationware |
| DAW (Reaper, etc.) | Advanced | Podcast recording and editing | Paid / Trial |
If you are new to audio processing, start with Sonar. Advanced users who want surgical EQ and plugin options may prefer a dedicated DAW.
8. Monitor Your Voice Properly
Always use closed-back headphones when adjusting settings. Laptop speakers or room speakers can misrepresent tonal balance.
When monitoring:
- Listen for harsh “S” sounds (sibilance).
- Check for muddy low-mids.
- Ensure your voice cuts through background music.
- Confirm there is no digital distortion or clipping.
Make incremental changes and test recordings rather than adjusting everything at once.
9. Match Settings to Your Voice Type
Every voice is different. A deep male voice will require different EQ adjustments than a higher-pitched voice.
General guidance:
- Deep voices: Reduce low mids slightly to prevent muddiness.
- Higher voices: Avoid excessive high-frequency boosting.
- Soft speakers: Use mild compression to maintain presence.
- Loud speakers: Lower gain before applying compression.
The goal is natural clarity, not a “radio announcer” effect unless specifically desired.
10. Maintain Consistency
Professional sound is largely about consistency. Sit in the same position each session. Keep the microphone fixed on a boom arm. Maintain a similar speaking volume.
Small changes in posture or distance can noticeably alter tonal balance. Lock in your setup once it sounds good.
11. Test and Iterate
Record short test clips before going live or publishing a podcast episode.
Ask yourself:
- Is my voice clear and intelligible?
- Is background noise distracting?
- Does the tone sound natural?
- Is volume consistent?
Make changes gradually. Professional audio refinement is typically a process of small improvements rather than dramatic adjustments.
Final Thoughts
The SteelSeries Alias microphone is capable of delivering impressive clarity and warmth when properly configured. The key is focusing on fundamentals before relying on heavy digital processing. Proper placement, controlled gain, and a treated environment will create a clean foundation. From there, subtle EQ and compression will elevate the recording to a polished, professional level.
Sound quality builds trust with your audience. Taking the time to optimize your Alias mic setup not only improves production value but also reflects attention to detail and professionalism. Approach the process methodically, test your results carefully, and prioritize natural tone over aggressive enhancement. The result will be a voice that sounds confident, clear, and authoritative.
